Main Page/PHYS 3220/Holography
Contents
Holography
Introduction [1][2][3]
Holograms are three dimensional images of scenes or objects recorded on two dimensional film or glass plates coated with photographic emulsion. The hologram actually records the interaction of two beams of coherent light, which are mutually correlated in the form of a microscopic pattern of interference fringes. The first beam of coherent light is called the reference beam and it directly illuminates the film. The second, or object beam travels from the light source to the object, and then is reflected onto the film. The interference pattern at the film is used to store the information of the depth of the recorded object. When properly illuminated, the film or photographic plate produces a three dimensional image which is the hologram.
In conventional photography, a lens is used to focus light from a point on a source onto a corresponding point on a photographic plate. This plate then forms an irradiance map of the original object. The amplitude is recorded in terms of the intensity, but the phase information of the wavefront is lost, and hence there is no perception of depth or parallax in the final photograph.
The basic concept of a hologram is shown in Fig. 1 using a simple example. On the top left, light incident on a point object is diffracted into a pattern of concentric diffraction rings of maxima and minima which can be recorded on a transparency. In a second step, light incident on this transparency will be focused onto a point. The same argument extended to two points for the object (middle diagram) shows two concentric rings. If this transparency is then exposed to light, each set of concentric rings will focus the light onto two separate points. Finally in the bottom example, you can see that a cluster of points (which is shown in this example as the letters A B C) produces a superimposed array of concentric rings for each point on the object. Each set of rings will refocus incident light onto a corresponding point and the net result is a reproduction of the object which are the letters A B C. A photographic film can record intensities but not the phase of the light. In the example above, each set of fringes from a single point on the object interferes, but there is no fixed phase relationship between the different sets of rings and hence no interference. To make the different signals be compatible in phase, another wave called the “coherent background” or “reference signal” is added.

Therefore, holography is a two-step process. In the first part the image is formed on a photographic record called a hologram. In the second part the image is reconstructed from the hologram by illuminating with the same light source.
To make a hologram of a 3D object, the reference beam is added at an angle “off-axis” with the signal beam. The signal beam is scattered off the object and made to interfere with the reference beam at the film to form fringes. Normally these fringes are very closely spaced and cannot be seen with the bare eye. Under a microscope the holographic plate looks like a mesh of cells each containing a series of fringes of various lengths and sizes. Holograms can only be made using light sources that have a special property known as coherence. Some gas discharge tubes have this property but to a very small degree so that they can only be used for holograms of flat surfaces or for making copies of holograms. Laser light possesses this property of coherence to a much greater degree and is thus better suited for making holograms of 3D objects. (Understand this property and give a brief summary in the introduction or theory section of your report. Use reference 1 for help.) In brief, temporal coherence is related to the extent over which all the photons in the light beam are at the same frequency, or equivalently, in terms of wavelength, and that are also in phase. The spread in the wavelength, or the bandwidth, of a helium-neon laser is 632.8 ± 0.002 nm. You can verify (see references 2 and 3 or any optics textbook) to see that this spread can be transformed into a “coherence length” which is related to the wavelength and the spread in the wavelength. Exercise: Show that the coherence length is given by

Where λ is the wavelength and Δλ is the spectral or band width of the laser.
This coherence length determines the depth perception of the subject while making a hologram. In general the light used for illuminating the object should have a coherence length that exceeds the path differences due to the unevenness of the object. Thus for a solid three dimensional object, laser light is the most suitable.
It is important to understand that unlike a photograph where each point on the film corresponds to a point on the object, light from every object point goes to the entire hologram. Because of this if the hologram is broken; it will still reconstruct the whole scene or object. There could however be a loss of detail observed in terms of depth perception.
In this experiment you will be creating two different types of holograms. The first hologram is called a transmission hologram. In this hologram both the object and reference beam are incident on the film from the same side. The second type is called a reflection hologram. In this type of hologram, the reference beam and the object beam are incident on opposite sides of the film. (Include a ray diagram in your report to better describe the above hologram types.)
Pre-Lab Exercises
- To expose a hologram we require an exposure of 3x10¹⁷ photons/cm2 measured at the hologram film plate.Calculate the output power (in mW and Photons/cm2) to have an exposure time of less than 10 minutes. Begin with a derivation of the equation you will be using.
- Show the coherence length is given by equation 1 and calculate it for this setup. What is the significance and this length and why is it important?
- Describe the characteristics of objects that would be ideal for holography. Explain your choice.
- What is (research) the warm up time for the given laser?
Method
Special Note
Some of the apparatus, particularly the holographic film was obtained from Liti Holographics Inc.[4] In addition, some of procedure detailed below was adapted, with kind permission, directly from the instructions and documentation supplied with our holography kit. For those of you interested, full kits for making your own holograms at home can be purchased for reasonable prices directly from LitiHolo.
Apparatus
- LED light
- various objects
- coin or similar object
- beam block
- glass plate
- white and black cards
- Lens
- 2 Litiholo 2.0 “Instant Hologram” film plates
- Spectra-Physics 106-1 He-Ne Laser
- Hologram Stages
- Spacial Filter/Telescope
Please note that you will receive 2 and only 2 "Instant Hologram" film plates. It is up to you to ensure that they are exposed properly. If you do not carefully follow the procedure below, you will ruin one (or both) of your plates, and will do poorly on this lab.
Setting Up the Optical Track
Using the height of the laser as a guide, insert the spacial filter, lens, hologram stage, and beam block into the optical track stands. It is very important to ensure that the height of all of the optics are the same (verify this, explain method). Use the diagram below to help you set up the optical track. Make sure to include an explanation in your report (with any necessary background) of the purpose of every optic used.

Maximizing the Power through the Pin Hole
Once all your optics are in place it is important to maximize the power through the spatial filter in order to minimize the exposure time. The pinhole and telescope are on a translation stage that can be finely adjusted using the vernier screws attached. Scan back in fourth in the horizontal and vertical direction until the beam is maximized. You may also have to adjust the forward motion of the stage for complete maximization (Note that when you do, you will have to readjust the vertical and horizontal screws as well). Use a white piece of paper along with the provided power meter to help you in your maximization efforts. Remember to aim for a power level which will require an exposure time of less than 10 minutes. Record your experimental maximum power. How does this value compare to the power you calculated in your pre-lab exercise? What is the efficiency of the spacial filter?
Transmission Hologram
A transmission hologram is created when the incoming laser illuminates both the object and the film at the same time, from the same side of the film. There is a reflection off of the object which creates an interference pattern and ultimately the hologram.
- Adjust the height of the hologram stage such that the laser beam is centered at 2cm above the platform.
- Select a provided object for your hologram and place it inside the rectangular area etched on the plate holder.
- Place the uncoated film plate and object onto the hologram stage.
- Use the white card to verify that the laser beam and is hitting both the film plate and object at the same time
- The provided black card will act as a simple shutter to block and unblock the laser light during the hologram exposure. Devise a way to use this card as a shutter and explain your method in your report. Keep in mind that it is important that the stutter can be inserted and removed with almost no perturbation to the rest of the setup. Ensure that when your shutter is in place, no laser light reaches the object of the film. Insert the shutter.
- At this point you are almost ready to create your hologram. However, first ensure that your laser has been sufficiently warmed up. If the laser is not sufficiently warmed-up you will not get a good hologram. At this point see appendix 1 for other important information and tips on creating good holograms.
- Shut off all the lights in the room. You can use the blue LED keychain as your light source for the next steps.The LED light will give you ample light to maneuver, and perform the experiment and will not affect the exposure. Explain in your report why this is true.
- Open the Litiholo 2.0 “Instant Hologram” film box and remove one film plate. Leave the remaining film plates in the box and close the box. You may notice that the film plate has a thin, clear coversheet on one side; do not remove it.
- Replace the uncoated glass plate with the “Instant Hologram” film, having the side with the thin, clear coversheet facing away from the object.
- Wait 3-5 minutes for the vibrations on the set-up to dissipate. Total Silence is important. Do not touch the set-up or counter.
- Gently lift the beam block to expose the hologram. Expose the hologram for the appropriate amount of time depending on the intensity of the laser at the film plate.Total Silence is important. Do not touch the set-up or counter.
- Once the appropriate amount of time has elapsed, you can turn the room light back on.
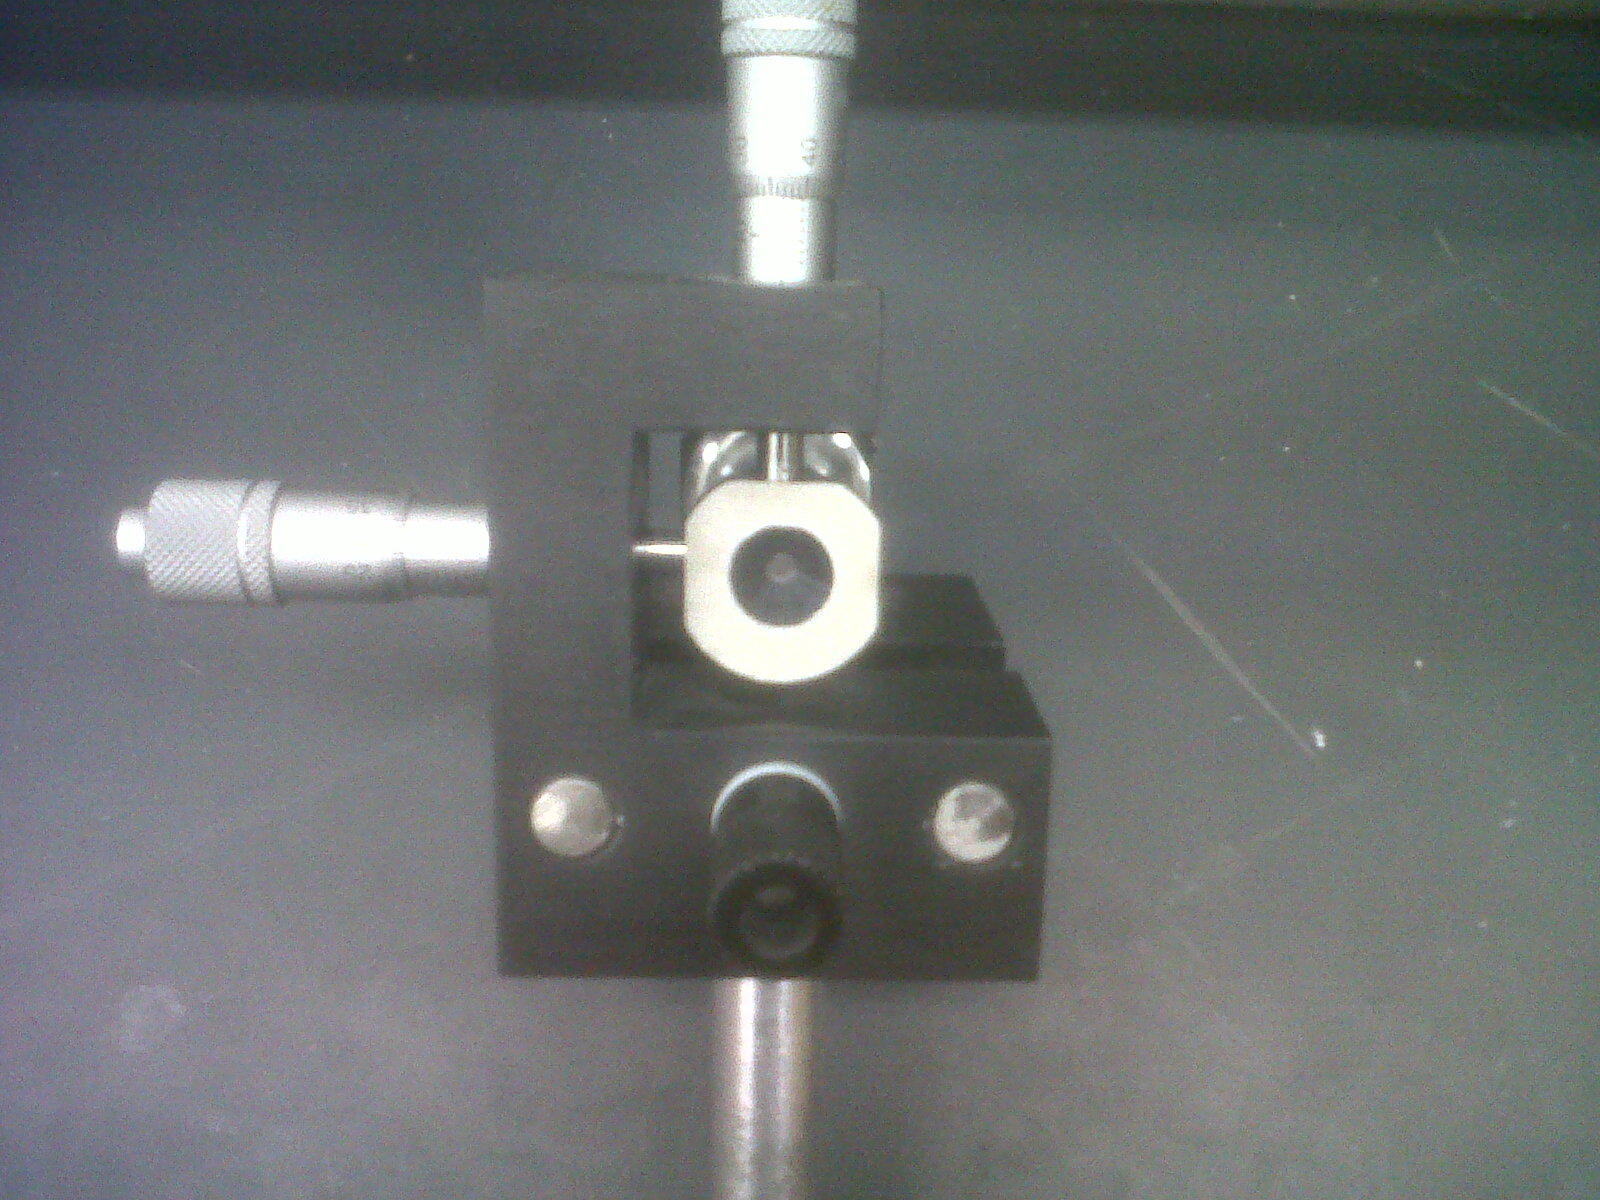
 Figure 3 - Diagram of Hologram Stage Setup.
|
Viewing the Hologram
- Remove the object from the hologram stage, and look through the back of the hologram film towards the location where the object used to be.
- You can also view the hologram using the LED keychain as the light source while holding the exposed film plate in your hand. This works best with a red LED, but well enough with the blue.
Place your hologram in the provided envelope and label the envelope with your names, student numbers and the date. Also provide an appropriate title. You will submit this along with your report to the TA for grading.
Reflection Hologram
The second hologram you will be creating is the reflection hologram. A reflection hologram is created when a reference beam and an object beam interfere on the film at the same time, but from opposite sides of the film.
- Remove the hologram stage and platform from its stand.
- Using the empty stand, mount the clamp stage, ensuring that it is at the correct height.
- Insert the uncoated glass plate along with the white paper to ensure the laser beam is illuminating the center section of the plate.
- Choose a second object to holograph. This item should be a small, flat object such as a coin or a medallion that is no smaller than a quarter. Ensure that your coin is shiny (clean it, if necessary) as this type of object will obtain the best results. Mount the object into the holder using the clamps support it. If the laser was illuminating the center of the plate the item should be fully illuminated as well. If it is not, adjust the height of your item such that it is fully illuminated.
- Insert the shutter and ensure that all of laser light is blocked. Remove the white paper and glass plate (the item will fall out as well) and set them aside.
- Turn on the provided LED darkroom light and turn off all other lights. A small amount of light coming under a door will probably not harm your hologram but total darkness is best. The LED light will give you ample light to maneuver, and perform the experiment and will not affect the exposure.
- With all of the lights turned off, open the Litiholo 2.0 “Instant Hologram” film box and remove one film plate. Leave the remaining film plates in the box and close the box. You may notice that the film plate has a thin, clear coversheet on one side; do not remove it.
- Carefully insert the film plate into the camp stand with the clear coating facing away from the laser. Carefully place your object between the crossed clamps (as described above) behind the film. The item should be touching the clear coating on the back of the film.
- Wait 3-5 minutes for the vibrations on the set-up to dissipate. Total Silence is important. Do not touch the set-up or counter.
- Gently lift the beam block to expose the hologram. Expose the hologram for the appropriate amount of time depending on the intensity of the laser at the film plate.Total Silence is important. Do not touch the set-up or counter.
- Once the appropriate amount of time has elapsed, you can turn the room light back on.

Viewing the Hologram
This hologram does not need laser light to be viewed (why? Compare and contrast this hologram, and how it was developed, to the previous one). Carefully remove the item and the film from the clamp stand. Observe the transmission hologram and describe it in detail in your report.
Place your hologram in the provided envelope and label the envelope with your names, student numbers and the date. Also provide an appropriate title. You will submit this along with your report to the TA for grading.
Clean Up
Once you have made both holograms, remove every optical component from the track except the laser and place them neatly on the table.
When you receive your grade on this Lab Report, the two holograms will be returned to you and your partner. The student keeping the transmission hologram should also keep the blue LED light since it is needed to view the hologram. The reflection hologram does not require additional light to view.
References
- ↑ G. Saxby, Practical Holography.
- ↑ F. Jenkins and H. White, Fundamentals of Optics.
- ↑ P. Harihayan, Optical Holography.
- ↑ Liti Holographics Inc. www.litiholo.com
Appendix 1-Useful Tips for Making Holograms
Vibration is the enemy of holograms. So pick a solid surface on which to expose your hologram. This is a non-issue in the laboratory as the apparatus is set up firmly on a counter. No talking during hologram exposure; do not touch the surface that the hologram is being exposed on and do not move around, tap your shoes or do anything that will create excess vibrations in the vicinity of the hologram.
If at first you don’t succeed, overexpose. The Litiholo 2.0 “Instant Hologram” film is very different than traditional film. If you are unable to get a hologram with a certain exposure time, try increasing the time. The film develops as it is being exposed, so additional laser exposure will only have a minor effect after the film has used up all its exposure capacity.